
How to Remove Paint from Brick Naturally for Clean Results
- Matt Cameron

- Feb 26
- 11 min read
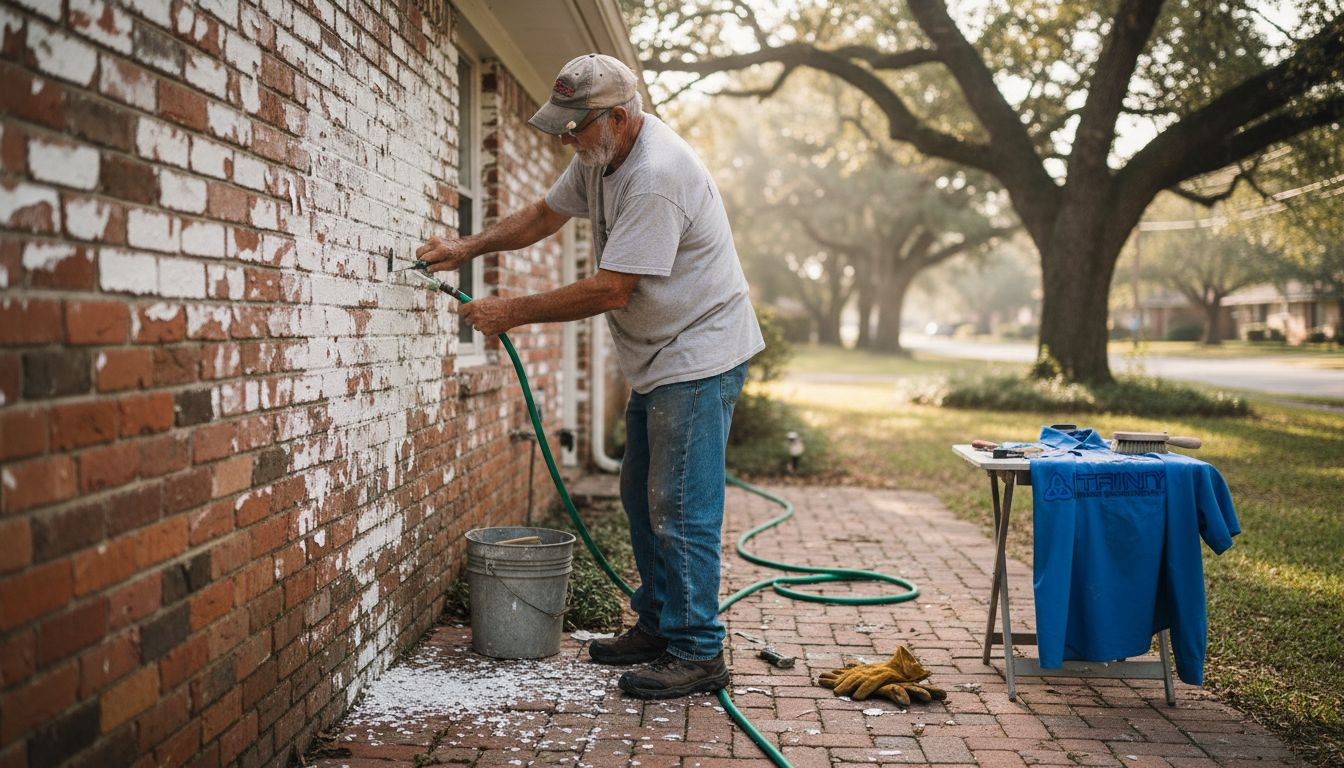
Chipping, faded paint on brick can make any Alabama home look neglected, especially when preparing to sell or start a renovation. Removing old paint restores both curb appeal and property value, but it takes the right tools and a careful approach to protect your brick. With guidance from surface preparation standards and proven safe techniques, you will learn how to gather the essentials and begin your project with confidence in Baldwin or Mobile County.
Quick Summary
Key Point | Explanation |
1. Gather essential tools and safety gear | Ensure you have appropriate protective equipment and tools like brushes, scrapers, and a pressure washer before starting your project. |
2. Thoroughly prepare the brick surface | Inspect, clean, and dry the brick to improve the effectiveness of natural paint removers and protect the brick. |
3. Use natural paint removers effectively | Apply heated vinegar or a washing soda paste to soften paint while ensuring it remains moist during the soaking process. |
4. Scrub and rinse carefully | Gently scrub with a soft-bristled brush and rinse thoroughly to remove all paint and residue without damaging the brick. |
5. Inspect and repeat as needed | After drying, check for remaining paint and be prepared to apply natural removal methods multiple times for thorough results. |
Step 1: Gather essential tools and safety gear
Before you start tackling that painted brick exterior, you need the right equipment and protection. Removing paint from brick naturally requires both hand tools and protective gear to keep you safe and get the job done effectively. This step takes just a few minutes but makes all the difference in how smoothly your project runs.
Your personal protective equipment is non-negotiable. Safety glasses protect your eyes from debris and cleaning solution splashes. Heavy-duty work gloves keep your hands safe from rough brick surfaces and any caustic solutions you might use. Wear long sleeves and pants to shield your skin, and consider a dust mask if you’re using dry brushing methods initially.
Here’s what you’ll need in your toolkit:
Stiff-bristled brush (wire or nylon) for initial debris removal
Pressure washer (set to lower PSI to avoid brick damage) for rinsing
Buckets for mixing natural solutions and water
Sponges and soft cloths for applying solutions
Scraper or putty knife for stubborn paint spots
Garden hose with adjustable nozzle for rinsing
Drop cloths or plastic sheeting to protect landscaping below
Inspecting your tools before you begin is critical. Check that brushes aren’t frayed, handles aren’t cracked, and power equipment runs smoothly. According to guidance on hand and power tool safety, ensuring tools are in good condition and have proper safety devices prevents accidents during outdoor work.
Set up your work zone thoughtfully. Clear the area of obstacles so you won’t trip while carrying water or equipment. Secure any loose clothing and tie back long hair if you’re using a pressure washer or power tools. Good housekeeping at your work site prevents slips and keeps you focused on the task at hand.
Gather everything before starting, so you’re not running back and forth looking for supplies once you begin.
Pro tip: Organize your tools near the brick wall you’re working on, and test your pressure washer on a small, inconspicuous area first to confirm the water pressure won’t damage the brick.
Step 2: Prepare the brick surface for removal
Now that you have your tools ready, it’s time to assess and clean the brick surface. Proper surface preparation determines how effectively your natural paint removal methods will work and protects the brick from unnecessary damage. This step typically takes an hour or two, depending on the size of the painted area.
Start by examining the painted brick closely. Look for areas where paint is already peeling, flaking, or cracking. These weak spots tell you a lot about the paint’s condition and how it will respond to your removal efforts. Also note any surface damage, staining, or areas where water may have penetrated behind the paint.
Begin with a dry cleaning pass using your stiff-bristled brush. Brush away loose dirt, dust, and any paint flakes that are already detaching from the brick. This initial brushing removes surface contaminants that would otherwise trap your natural cleaning solution and prevent it from working effectively.
Next, use light power washing or hand scrubbing with water to clean the brick thoroughly. According to surface preparation standards for masonry, gentle cleaning methods remove dust and loose paint while preserving the brick’s integrity. Keep the water pressure moderate if using a pressure washer to avoid damaging the brick itself. Work from top to bottom so dirty water runs downward naturally.
Allow the brick to dry completely before moving forward. This usually takes 24 to 48 hours depending on weather conditions and brick porosity. Wet brick won’t allow your natural removal agents to penetrate effectively, and moisture can interfere with the chemical reactions you’re relying on.
Check for any mold or microbial growth on the surface, particularly in shaded areas. If you spot dark stains or patches, you might consider a separate cleaning step to address those before paint removal begins.
Inspect for existing damage and paint failure patterns
Brush away loose debris and flaking paint
Wash gently with water to remove surface contaminants
Dry completely before applying any natural removal agents
A clean, dry brick surface is your foundation for successful paint removal.
Pro tip: Document the brick’s condition with photos before you start, so you can compare results as you progress and identify which natural methods work best on your specific brick type.
Step 3: Apply natural paint remover for best results
This is where your patience pays off. Applying the right natural paint remover can soften and loosen paint significantly, making the scraping phase much easier. Choose your method based on your brick type, paint condition, and how much time you’re willing to invest.
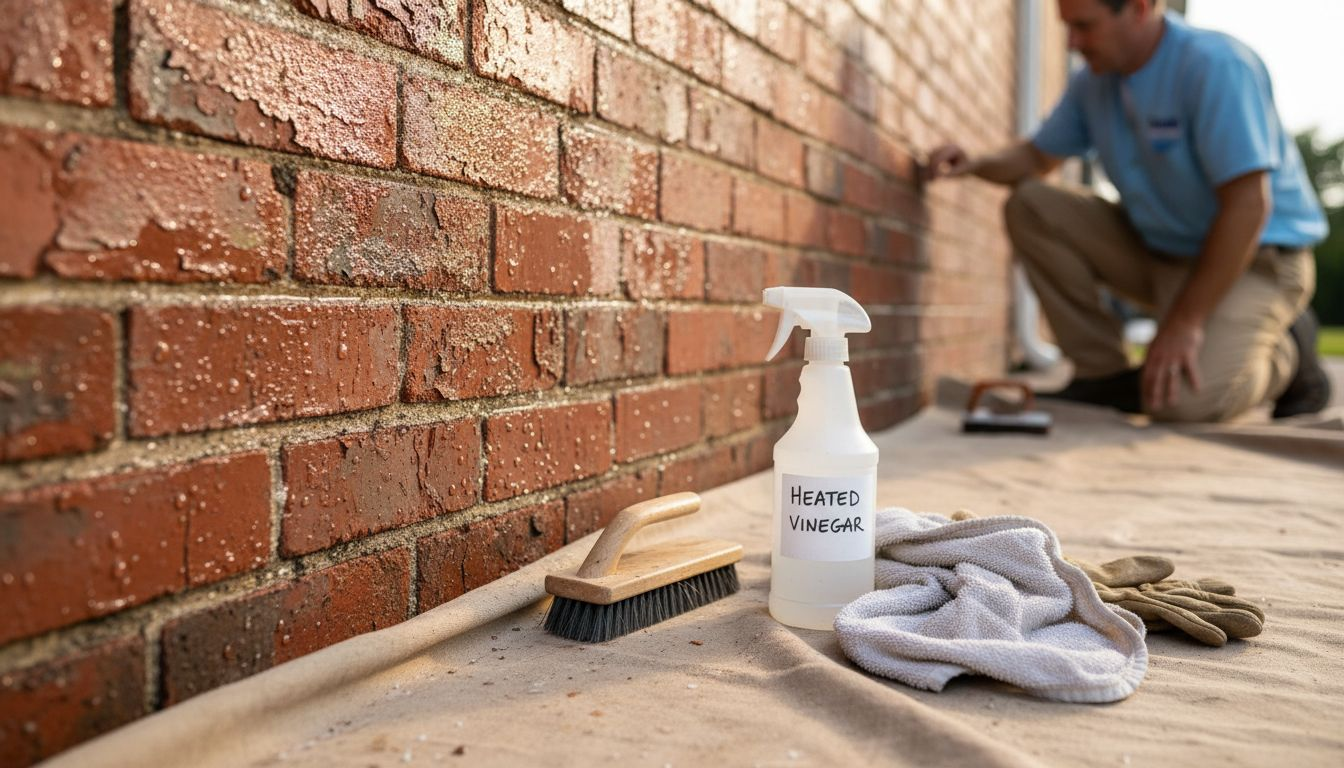
You have several effective natural options. Heated vinegar is a popular choice that softens paint through its acidic properties, making it easier to scrape away gently without damaging the underlying brick. Mix equal parts white vinegar and water, heat the solution (but don’t boil it), and apply it liberally to the painted surface using a sponge or spray bottle.
Another excellent option is a washing soda paste. Mix washing soda with water and a little flour to create a thick paste that adheres to vertical surfaces. This paste works slowly but effectively, breaking down the paint’s bond with the brick over several hours or overnight. Apply it generously and let it sit undisturbed.
For stubborn, thick paint buildup, mild solutions like diluted ammonia or hydrogen peroxide can help. According to guidance on removing stains from porous surfaces, starting with gentle solutions prevents damage while effectively treating paint and other stains on brick and stone. Always test your chosen remover on a hidden area first to ensure it won’t discolor or harm the brick.
Here’s a comparison of popular natural paint removers for brick:
Remover Type | Effectiveness | Best Use Cases | Precautions |
Heated Vinegar | Moderate on thin paint | Large areas, eco-friendly | May discolor light brick |
Washing Soda Paste | High on stubborn spots | Vertical surfaces, thick layers | Can leave residue, rinse thoroughly |
Diluted Ammonia | Strong on aged paint | Small, tough patches | Ventilate well, test on mortar |
Hydrogen Peroxide | Gentle stain removal | Sensitive or porous brick | Slow action, reapply as needed |
Application techniques matter just as much as the product itself. Use these steps for best results:
Apply generously to ensure the remover penetrates the paint fully
Work in sections if treating a large area to keep the remover wet
Let it sit for the recommended time (usually 2 to 8 hours depending on method)
Check progress by gently scraping a small area to see if paint softens
Reapply if needed for stubborn spots before moving to scraping
Keep the remover moist during the waiting period. If your solution begins drying, mist it lightly with water or reapply more remover to maintain effectiveness. Avoid extreme heat or direct sunlight during application, as these can cause the remover to dry too quickly.
Natural removers work best when given adequate time and moisture to penetrate the paint layer.
Pro tip: Apply your natural remover in the early morning so you have the full day for it to work before scraping in the afternoon, and cover treated areas loosely with plastic to keep them moist throughout the process.
Step 4: Scrub and rinse brick thoroughly
Now it’s time to remove the loosened paint and all traces of your natural remover. Thorough scrubbing followed by careful rinsing ensures clean brick and prevents residue from affecting the final appearance. This step typically takes 1 to 2 hours depending on the painted area’s size.
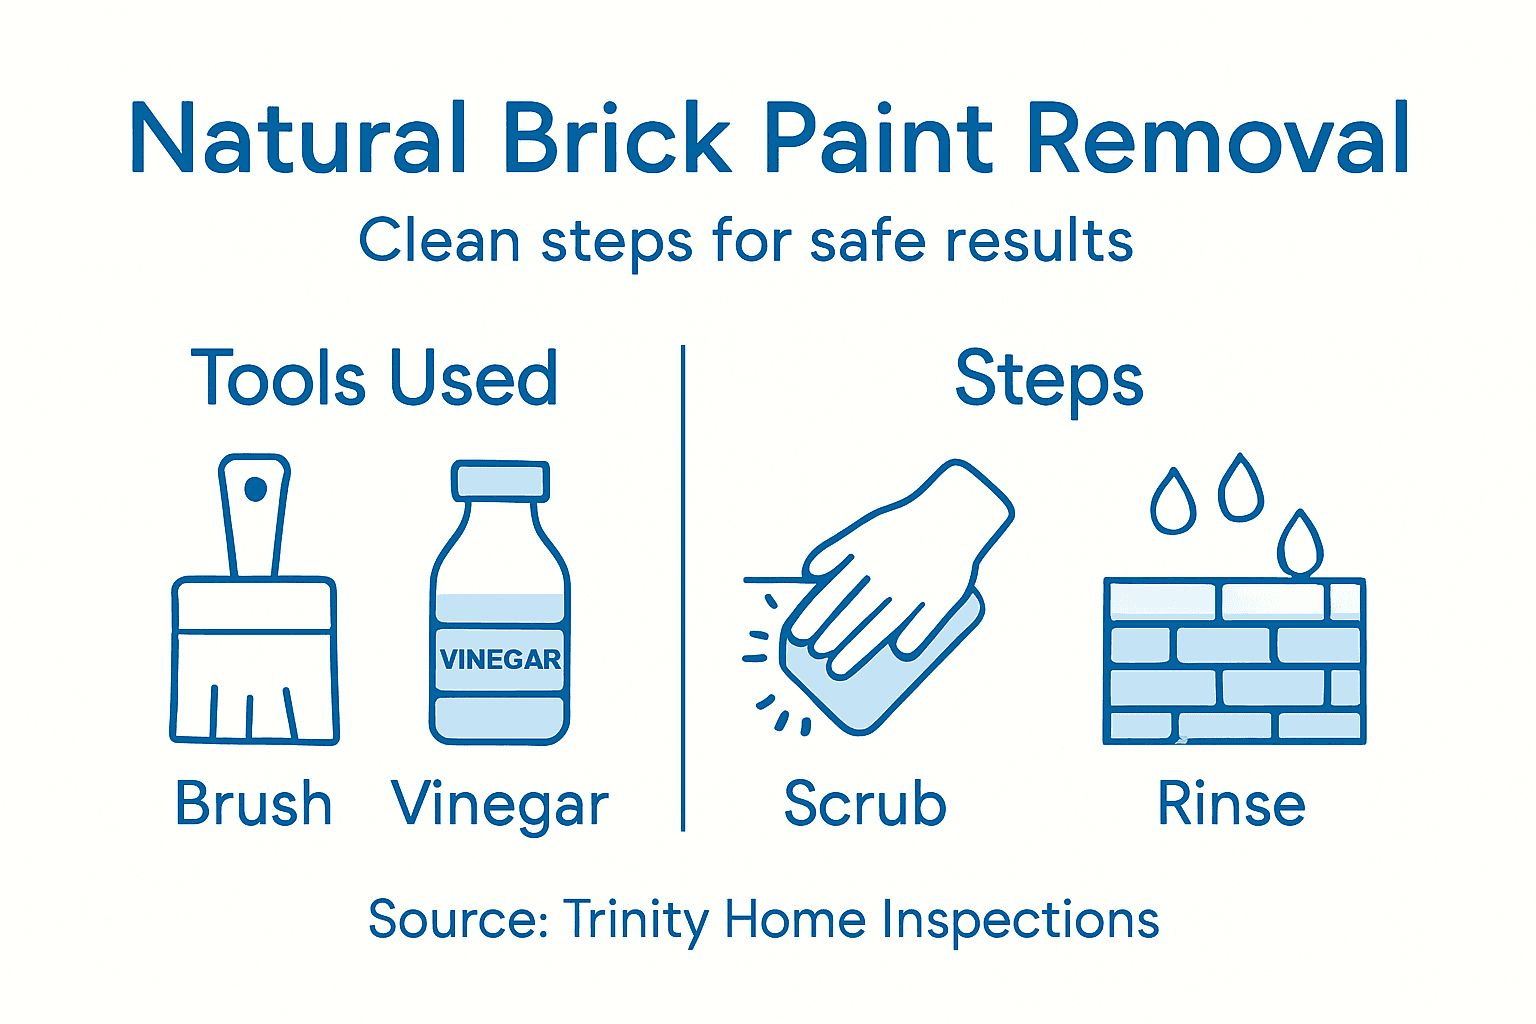
Start by scrubbing the brick with a soft-bristled brush or sponge. Don’t use wire brushes or abrasive pads, as these can damage the brick surface itself. Work in circular motions, applying moderate pressure to lift away the softened paint without gouging the brick. Pay special attention to crevices and textured areas where paint hides.
As you scrub, the loosened paint should come away in flakes and chips. For stubborn spots that resist your brush, use a plastic scraper held at a shallow angle to gently nudge the paint away. Never use metal scrapers or chisels, which can chip and scar the brick permanently.
Once you’ve scrubbed the entire area, it’s time to rinse. According to gentle cleaning techniques for stone surfaces, using mild liquid dishwashing detergent with warm water and rinsing thoroughly with clean water ensures no damaging residue remains on the brick. Mix a small amount of dish detergent into your rinse water for a final cleansing pass.
Rinse generously and repeatedly. Use your garden hose with a medium spray setting to rinse away all soap, paint chips, and remover solution. Work from top to bottom so dirty water flows downward naturally. Keep rinsing until the water running off the brick runs completely clear with no soap bubbles.
Your cleaning steps should follow this order:
Scrub gently with soft brush to remove loosened paint
Scrape carefully for stubborn spots using plastic tools only
Rinse with plain water to remove paint chips and debris
Apply soapy water rinse for final cleansing
Final fresh water rinse until water runs clear
Dry the brick with soft towels or allow air drying
Allow the brick to dry completely before assessing your progress. Sometimes additional spots require a second application of your chosen natural remover. That’s perfectly normal with thick or multi-layer paint.
Thorough rinsing is as important as the removal itself—any leftover residue will affect how the brick looks and feels.
Pro tip: Rinse on a dry, sunny day if possible, as the warmth helps moisture evaporate faster and lets you see the brick’s true color and texture without water darkening it.
Step 5: Inspect and repeat for complete paint removal
Paint removal rarely happens in a single pass, especially with older or thick coatings. Inspecting your work carefully tells you whether you’re done or need another round of treatment. This assessment step takes just 15 to 30 minutes but saves you frustration later.
Wait until the brick is completely dry before inspecting. Wet brick appears darker and can hide remaining paint, making it hard to see what still needs attention. Once dry, examine the entire surface in good daylight or with a bright work light. Look for any paint remnants, especially in corners, crevices, and textured areas.
Run your hand gently across the brick to feel for paint residue. Smooth areas indicate bare brick, while rough or sticky spots signal remaining paint. Pay close attention to mortar joints where paint often hides. According to surface inspection methods for paint removal, identifying remaining paint after initial removal attempts ensures you can complete the job thoroughly without damaging the brick.
If you find paint remaining, don’t worry. Simply repeat your paint removal process on those areas. Sometimes multiple applications are necessary, particularly on old, thick, or weathered paint coatings. This iterative approach prevents over-aggressive scraping that could harm the brick.
Here’s what to look for during inspection:
Paint in crevices and textured brick indentations
Glossy patches that feel different from bare brick
Color variations where paint still covers the surface
Sticky or tacky areas indicating incomplete removal
Paint chips at edges where removal was incomplete
For stubborn remaining paint, you have options. Repeat your natural remover application for another 4 to 8 hours, then scrub again. Alternatively, try a different natural method to see if it works better on those particular spots. Some homeowners find that alternating between vinegar and washing soda paste yields better results on difficult areas.
Know when to call it complete. After several rounds of treatment, your brick should feel and look clean. Minor surface staining or slight discoloration is normal and doesn’t require additional paint removal efforts.
Use this table to troubleshoot common paint removal challenges:
Problem Observed | Likely Cause | Suggested Solution |
Paint remains tacky | Too little remover time | Extend soak time, keep moist |
Brick surface scarring | Excessive abrasion | Use softer brushes, less force |
Stains after removal | Chemical residue left | Rinse with clear water again |
Uneven paint removal | Inconsistent application | Reapply evenly, overlap edges |
Complete paint removal takes patience and multiple passes; rushing leads to brick damage and incomplete results.
Pro tip: Take dated photos during each inspection stage to track your progress and identify which natural methods work best on specific areas, so you can replicate success on future paint removal projects.
Ensure Your Brick Home Is In Its Best Shape With Expert Insight
Removing paint from brick naturally takes patience and careful attention to detail to protect your home’s exterior. Whether you’re tackling peeling paint or preparing for a new finish, understanding the condition of your brick and the surrounding structure is essential to avoid hidden damage or moisture issues. Trinity Home Inspections offers thorough, InterNACHI-certified home inspections that help uncover potential concerns before they become costly problems. Our expertise can guide you to safer, smarter restoration choices for your property.

Protect your investment by scheduling a professional inspection at Trinity Home Inspections. We provide same-day photo and video-rich reports with detailed findings, including thermal imaging to reveal moisture or insulation gaps that could affect your brick’s durability. Our locally owned, faith-based team delivers honest, clear communication you can trust. Start your paint removal project with confidence by knowing exactly what your home needs. Visit our homepage today to learn more and book your inspection. For tailored advice on maintaining historic or natural brick, explore our insights and schedule your appointment now.
Frequently Asked Questions
How can I prepare the brick surface for natural paint removal?
To prepare the brick surface, start by inspecting it for any peeling or cracked paint and clean away loose dirt and debris using a stiff-bristled brush. Wash the area gently with water and allow it to dry completely for 24 to 48 hours before applying your natural paint remover.
What natural solutions can I use to remove paint from brick?
You can use heated vinegar, a washing soda paste, diluted ammonia, or hydrogen peroxide as natural solutions for removing paint from brick. Apply the chosen solution liberally to the paint, allowing it to sit for several hours to effectively soften the paint for easier removal.
How do I effectively scrub the brick after applying the natural remover?
After the natural remover has worked, scrub the brick gently with a soft-bristled brush in circular motions to lift away softened paint. Use a plastic scraper for any stubborn spots, and be cautious not to damage the brick by avoiding metal tools or excessive pressure.
How can I ensure that all residue is removed after paint removal?
Thoroughly rinse the brick with clean water multiple times to ensure all paint chips and remover residues are washed away. Once the water runs completely clear, your brick should be clean and free of any lingering products or paint.
What should I do if I still see paint after the initial removal?
If paint remains after the first removal attempt, wait until the brick is fully dry and inspect it under good lighting. Simply reapply your natural remover to those spots, allowing for extra time if necessary, and repeat the scrubbing and rinsing process until the paint is fully removed.
How can I prevent damage to the brick while removing paint?
To prevent damage, always use softer brushes and tools when scrubbing the brick and avoid high-pressure washing. Test your removal solutions on a small, hidden area first to ensure they do not discolor or harm the brick material.
Recommended
